The Smart Espresso Profiler is an easy to use tool to record and improve your espresso extractions. It gives all compatible espresso machines capabilities, which were only seen in the most advanced, state of the art devices. Imagine perfectly repeatable pressure- and flow profiling with a modified vintage lever machine, or a modern pump machine, with instant feedback.
First of all, mount the transducer on your device. For troubleshooting, please contact us.
note: if you are using an Acaia Lunar or Pearl scale, please turn off the auto tare and auto start modes.
The first step will be to pair your phone with the transducer and your Acaia scale. Without the transducer, the app can only be used to view earlier brews. Without the scale, you will only get pressure data of your brew.
You should see this screen:
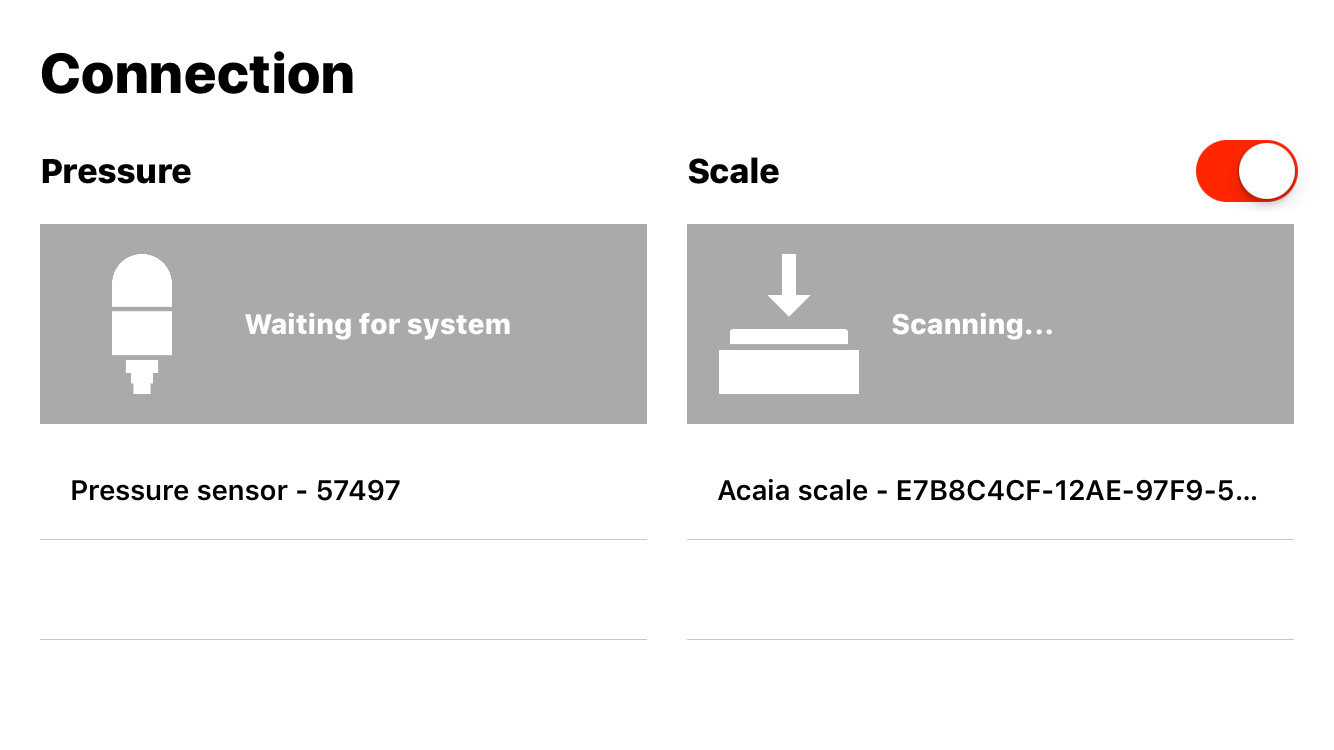 To use the scale, please turn on the switch, above the scale icon. Please tap the name of the pressure sensor and the scale for pairing.
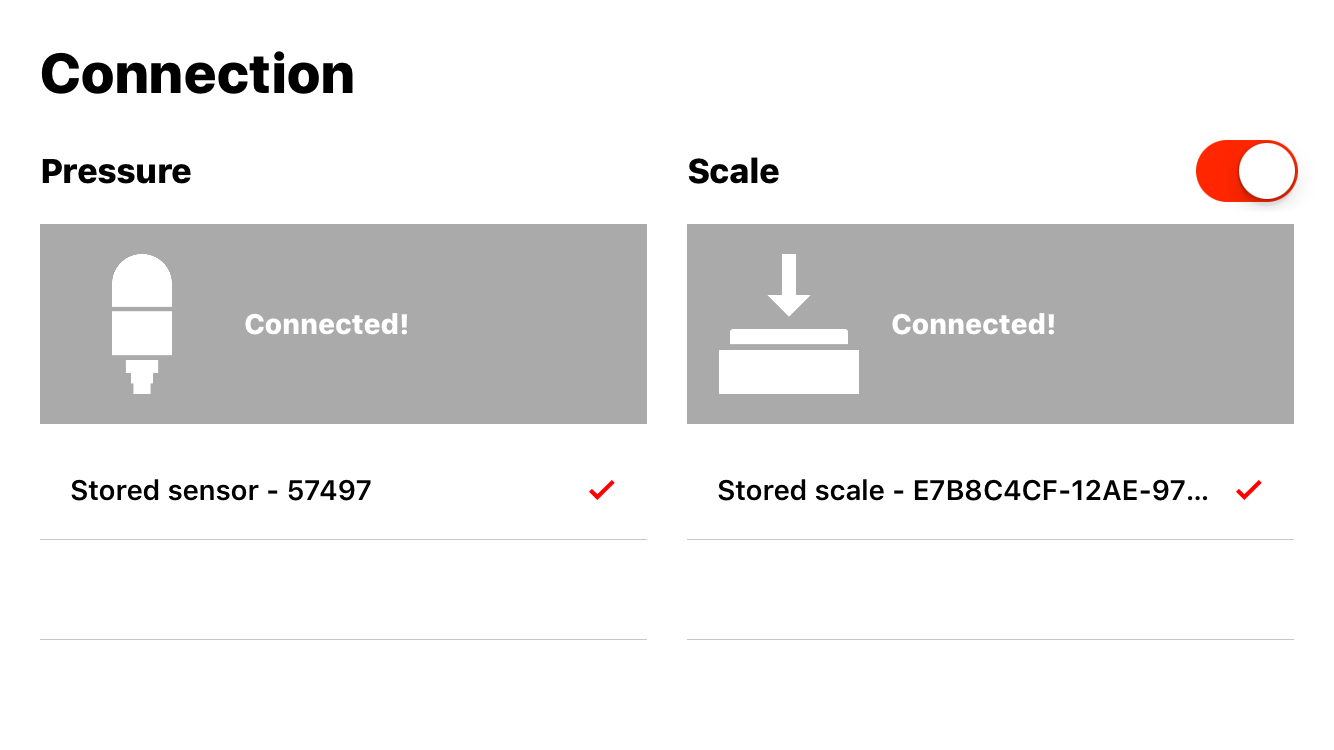 The screen should look like this, after a successful connection.
To enter the menu, please swipe from the left edge of the screen. The menu will appear:
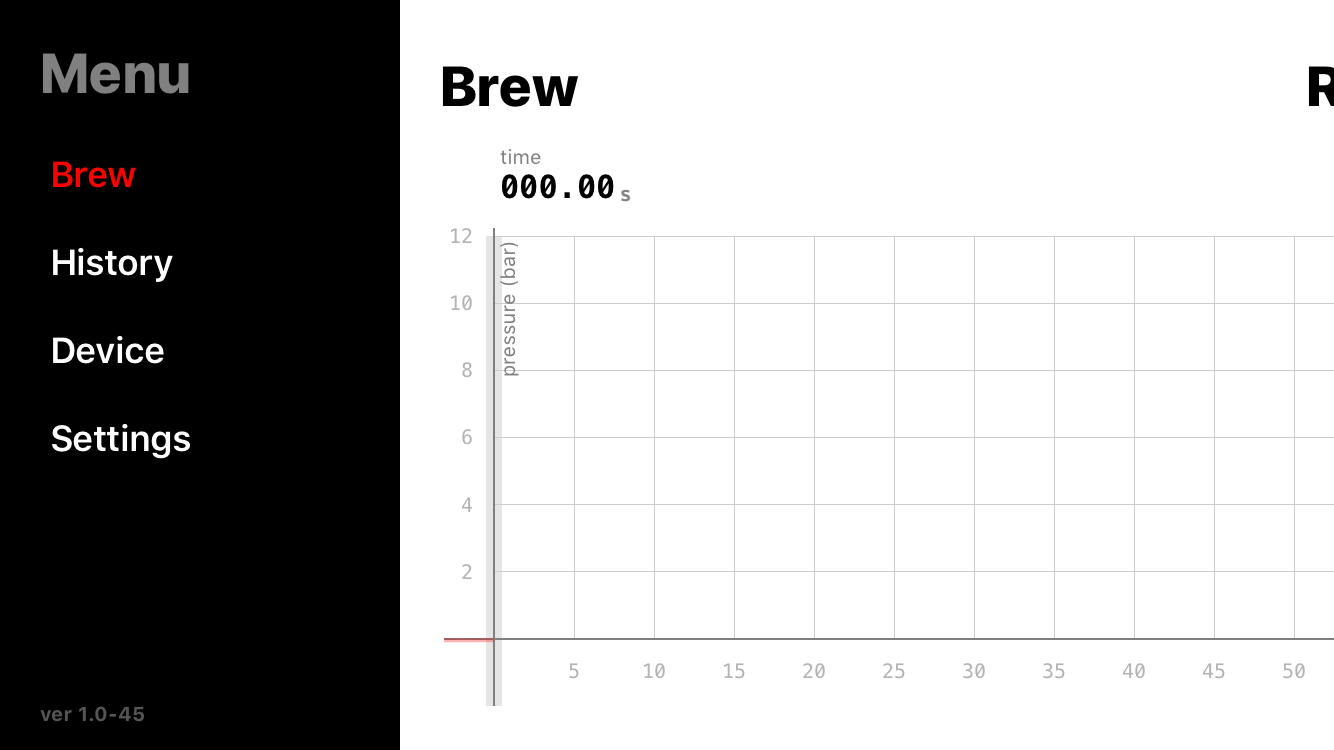
To start a brew, select “Brew” from the menu.
Note: after the first start, when the transducer and the scale are already paired, the app will start with the following screen:

Please note the “pressure” and “scale” icons in the lower right corner. Upon start-up, the app has to connect to the devices first. A successful connection is shown by the colour of the icons, changing to a darker colour, and the appearance of some control elements. Note: these control elements are only shown if an Acaia scale is connected.
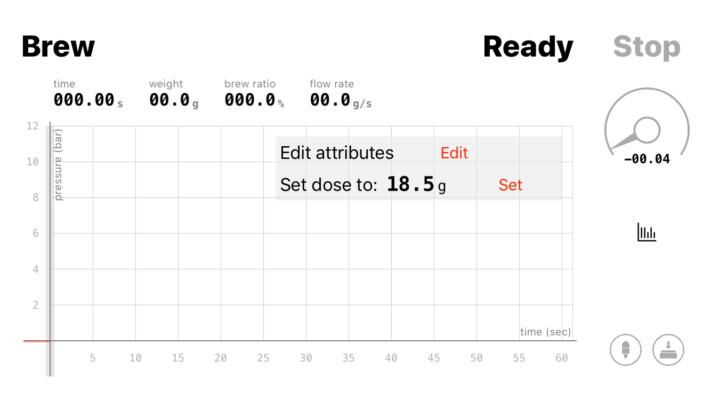
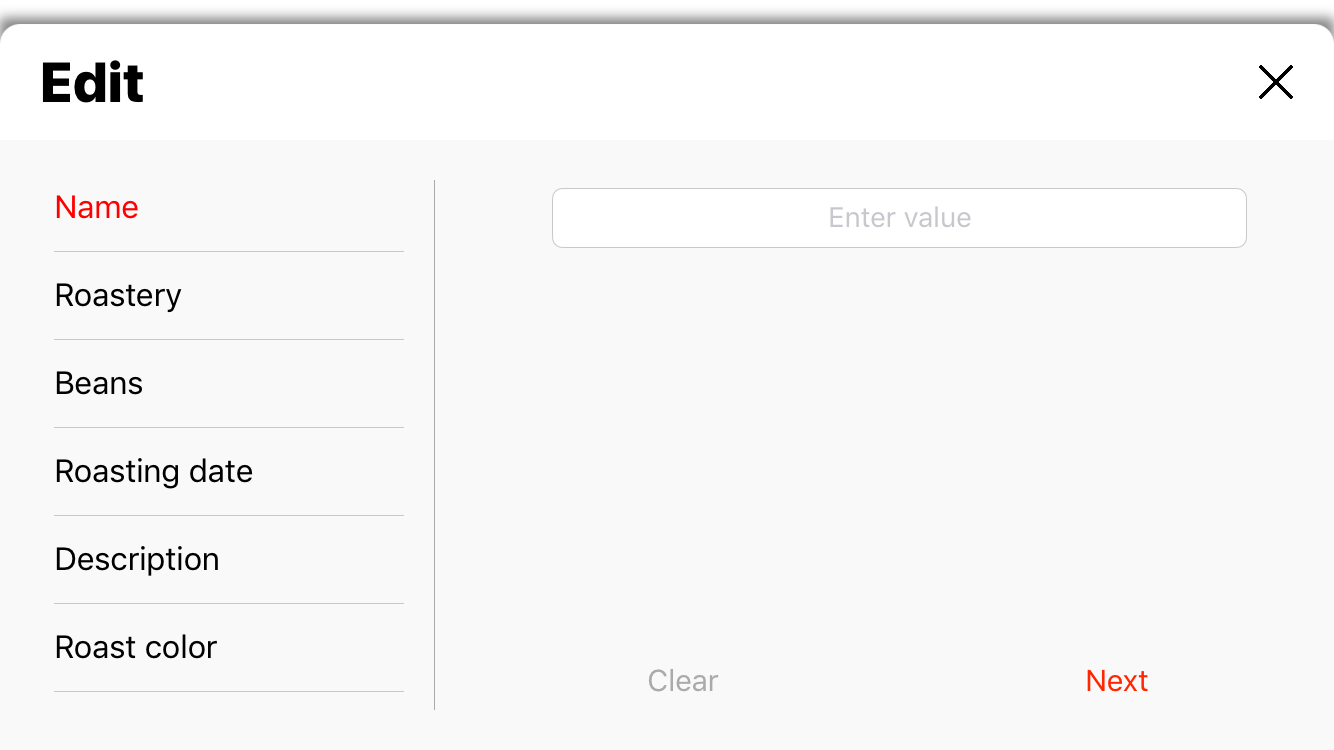
To enter pre-brewing notes, press “Edit”. You will be taken to a menu where some tasting notes can be entered before brewing.
Measure the grounds on the scale. You will notice that the weight on the scale will also be shown on the screen. Press “Set” to set the dose. You can change the dose by pressing “Clear” and set again.
ADVANCED: to follow the profile of an earlier brew, you can set the graph of the brew as background. Press the history icon below the pressure gauge, or in the menu. Select the item of your choice in the history. Press “Set as reference”. Reference graphs will be shown in grey.
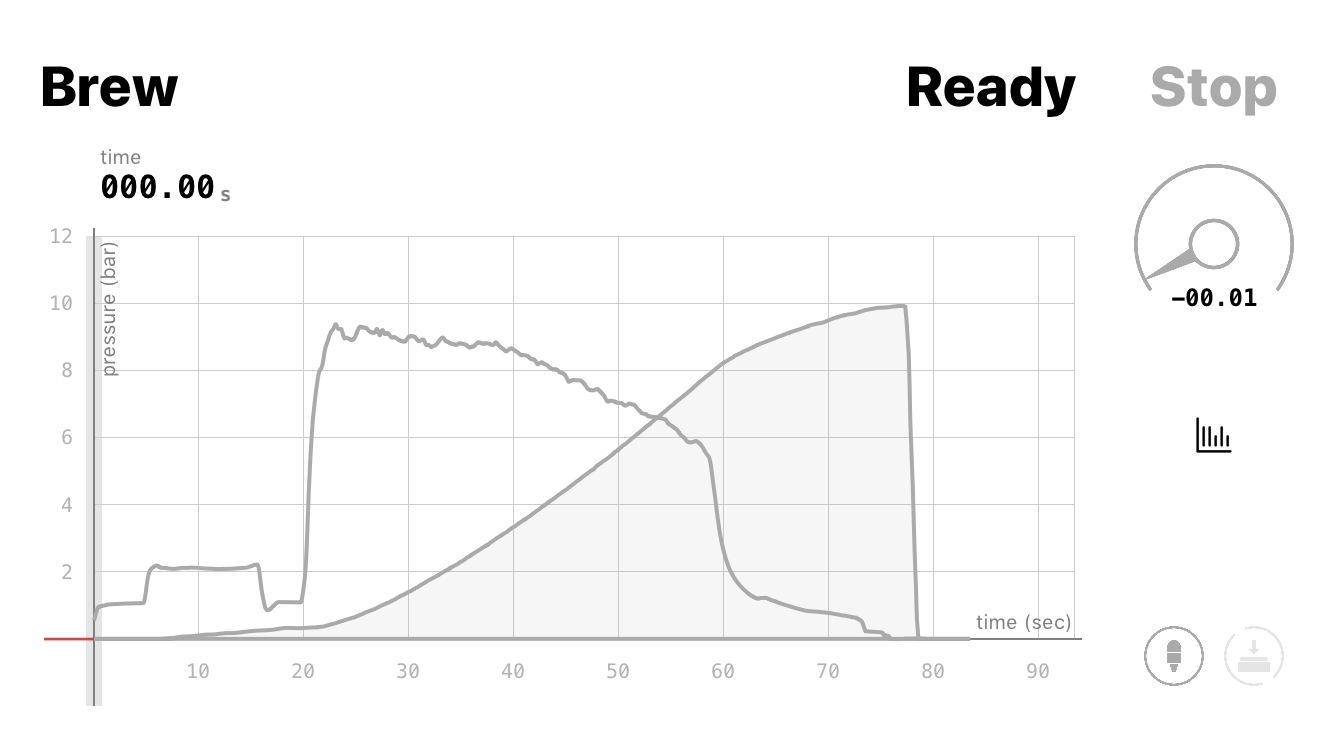
As soon as the pressure reaches 0,8bar, capturing function will start automatically.
Note: there is no way to start a capture manually. To capture pre-infusion on open boiler machines, you will have to increase the pressure for approximately one second to start capturing.
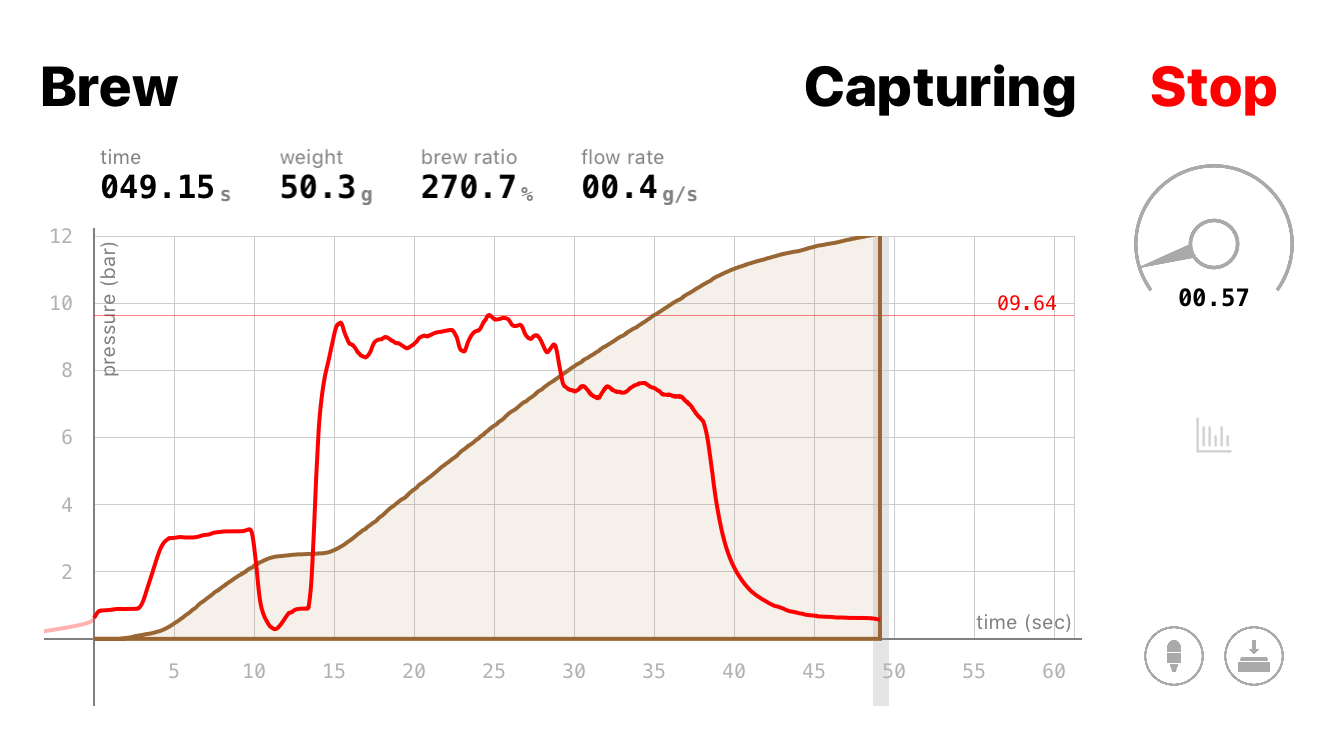
During the capture, the following indicators are shown:
- time: time elapsed from the start of the capture
- weight: espresso weight in the cup – don’t forget to tara your scale at the start!
- brew ratio: espresso weight/dose weight
- flow rate: speed of the flow, measured by the scale
- maximum pressure is shown by a red line, as well as numerically on the right
- real-time pressure is shown on the gauge in the top right corner
Capture can be stopped by either pressing the “stop” button or lifting the cup from the scale.

After completion, you are asked whether to save or discard the brew. Press save to list this brew in the history or discard to delete the record. The app is now ready for a new brew.
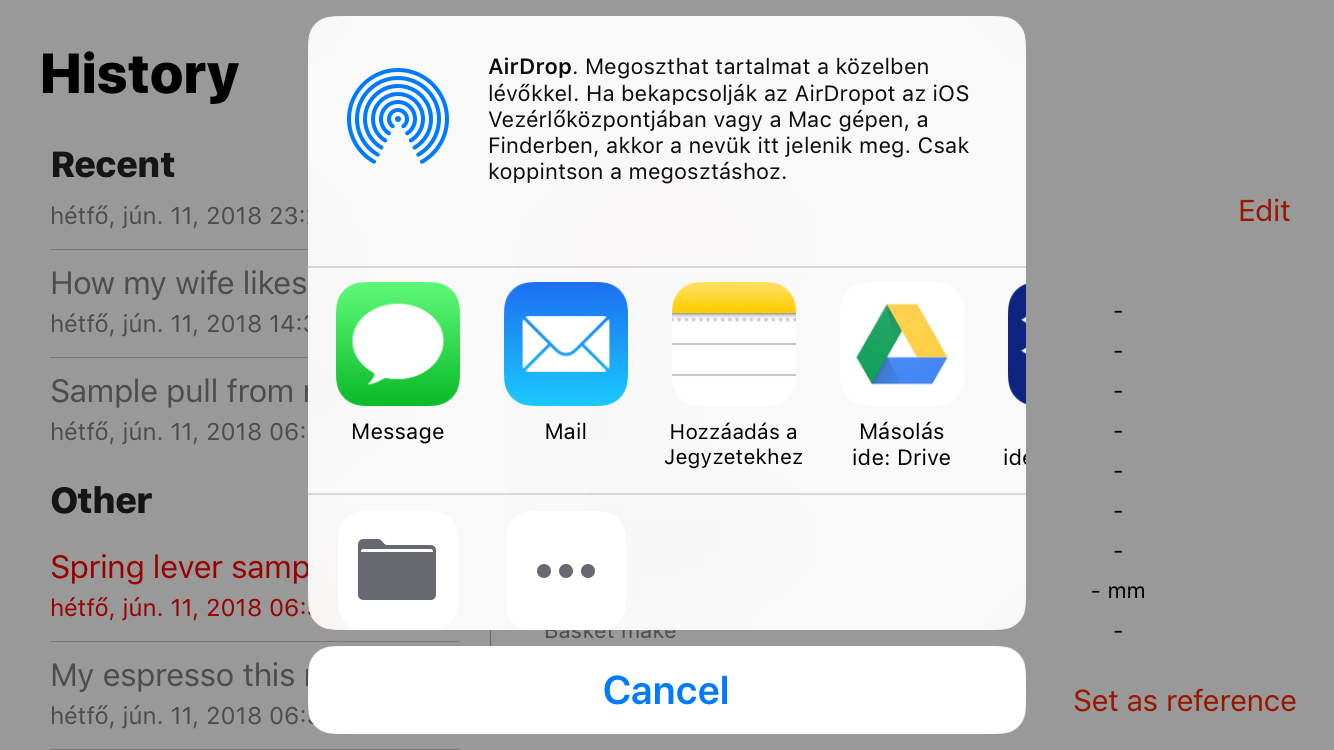
Enter History through the menu, or the history button below the pressure gauge.
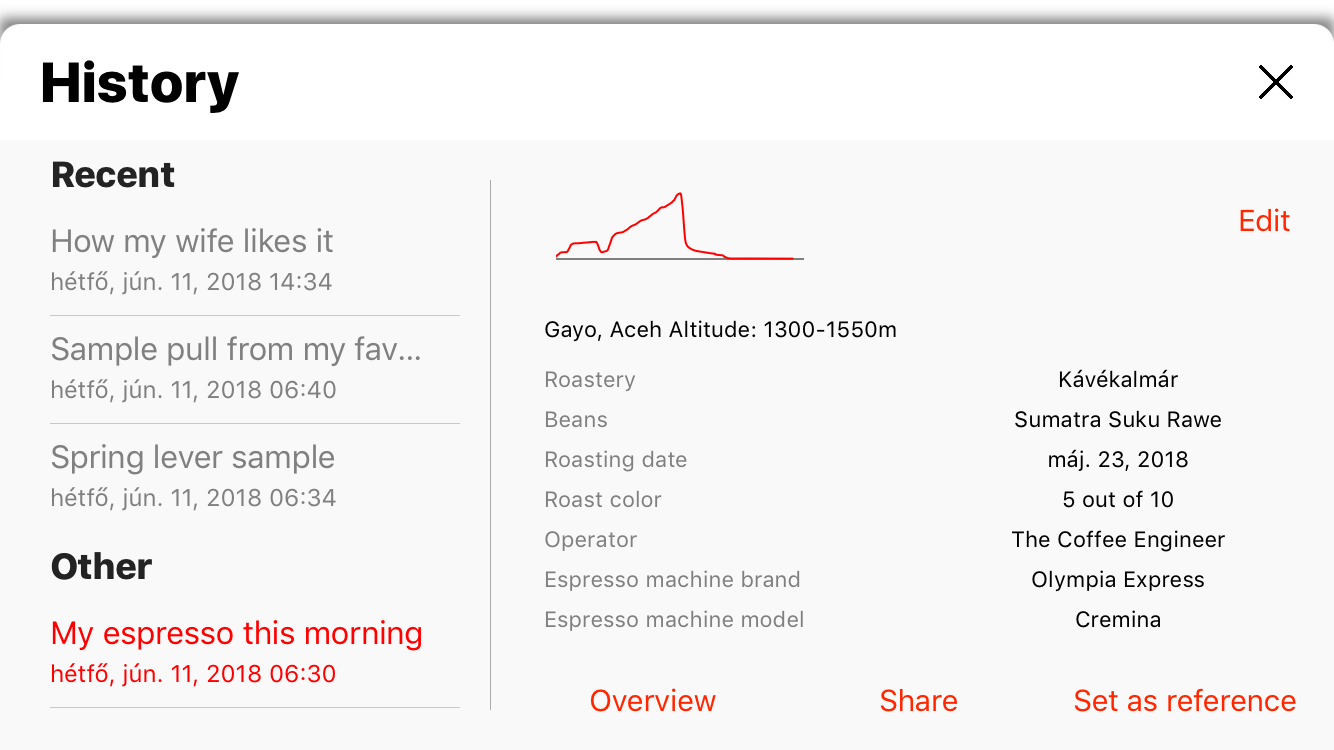
Press “Edit” to enter tasting notes.
Press “Share” to send the saved graph to a friend.
Press “Overview” to get to the overview screen:
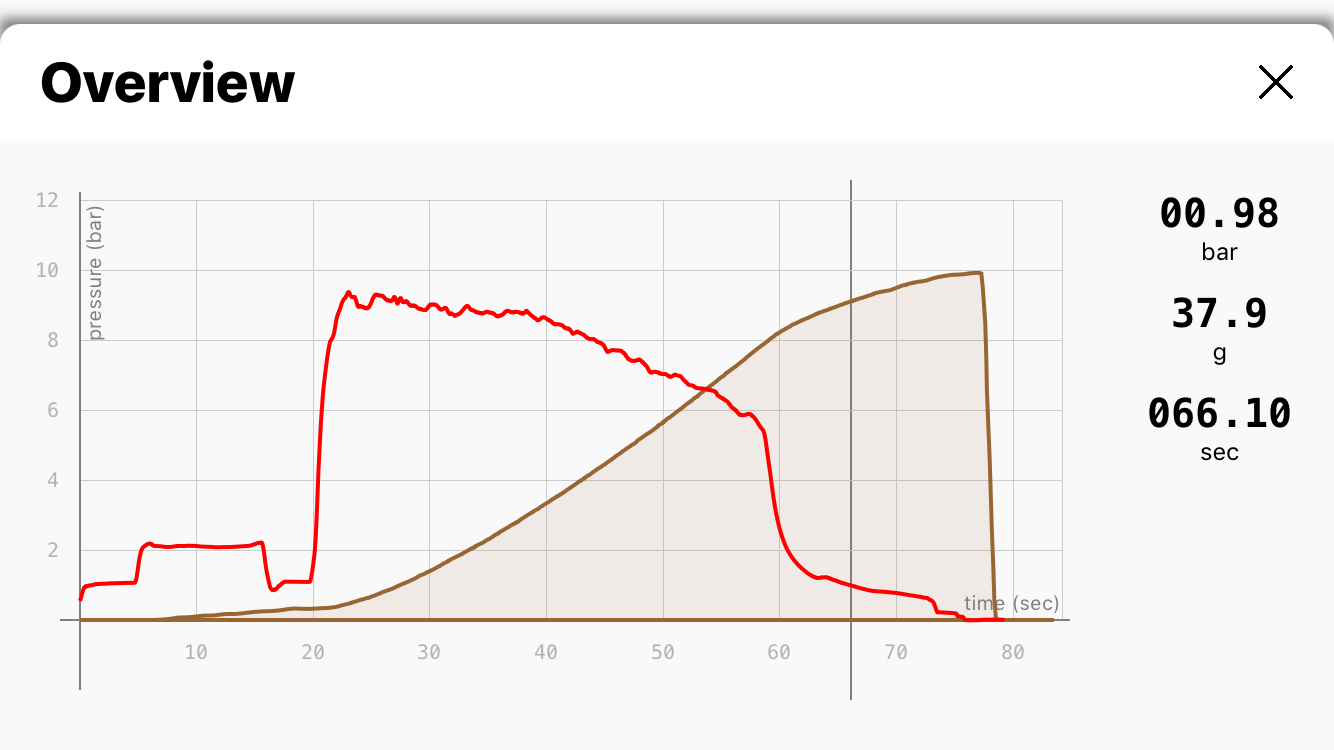
You can move the grey bar to see pressure and flow data at any moment of the brewing process.
That’s it, enjoy!
Please feel free to contact us, we love hearing from other enthusiasts and appreciate feedback!
info@naked-portafilter.com